
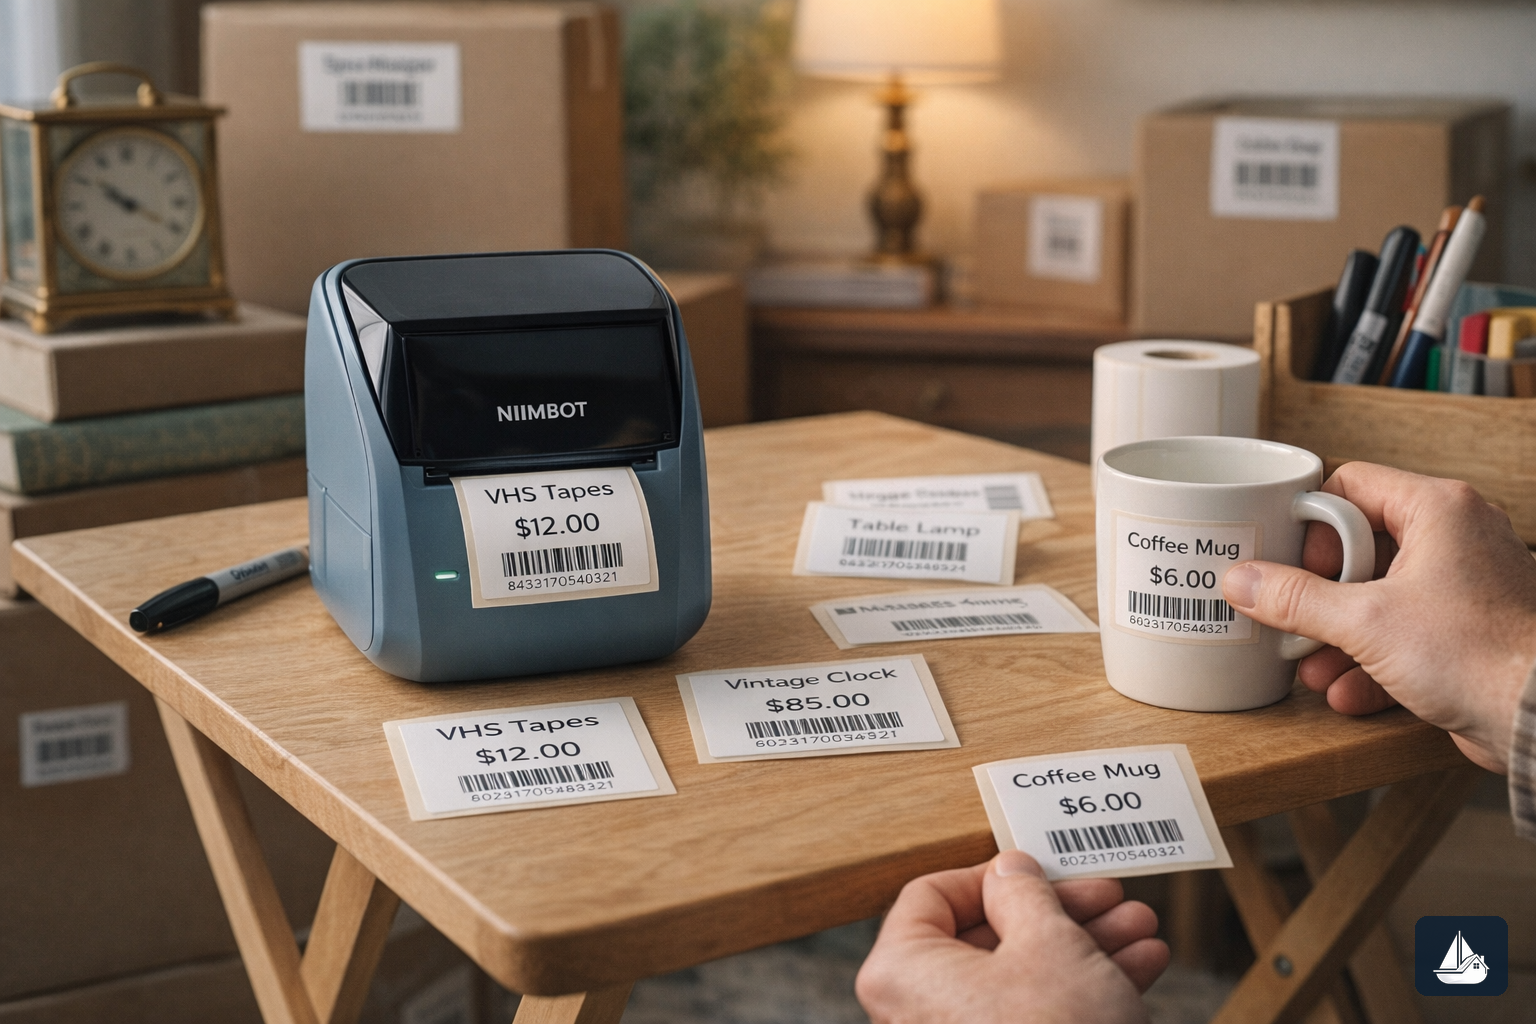
A correct NIIMBOT B1 estate sale setup includes the B1 printer, the right label rolls, reviewed inventory and pricing, and a barcode scanner at each register. By the end of weekday prep, your crew should print a barcoded label from EstateSail, attach it, scan it, and see the correct item and price in the checkout cart.
This guide covers what you need, how to connect the B1, label sizes, what prints on each label, selective labeling, bulk print during prep, and the print, apply, and scan test before weekend doors.
When this work happens: Inventory, pricing, labeling, and hardware tests usually run Monday through Wednesday or Thursday. Sales run over the weekend (often Thursday through Sunday). Friday evening can be late prep. Saturday is sale day operations only, not a day to inventory or bulk-label the house.
What you need
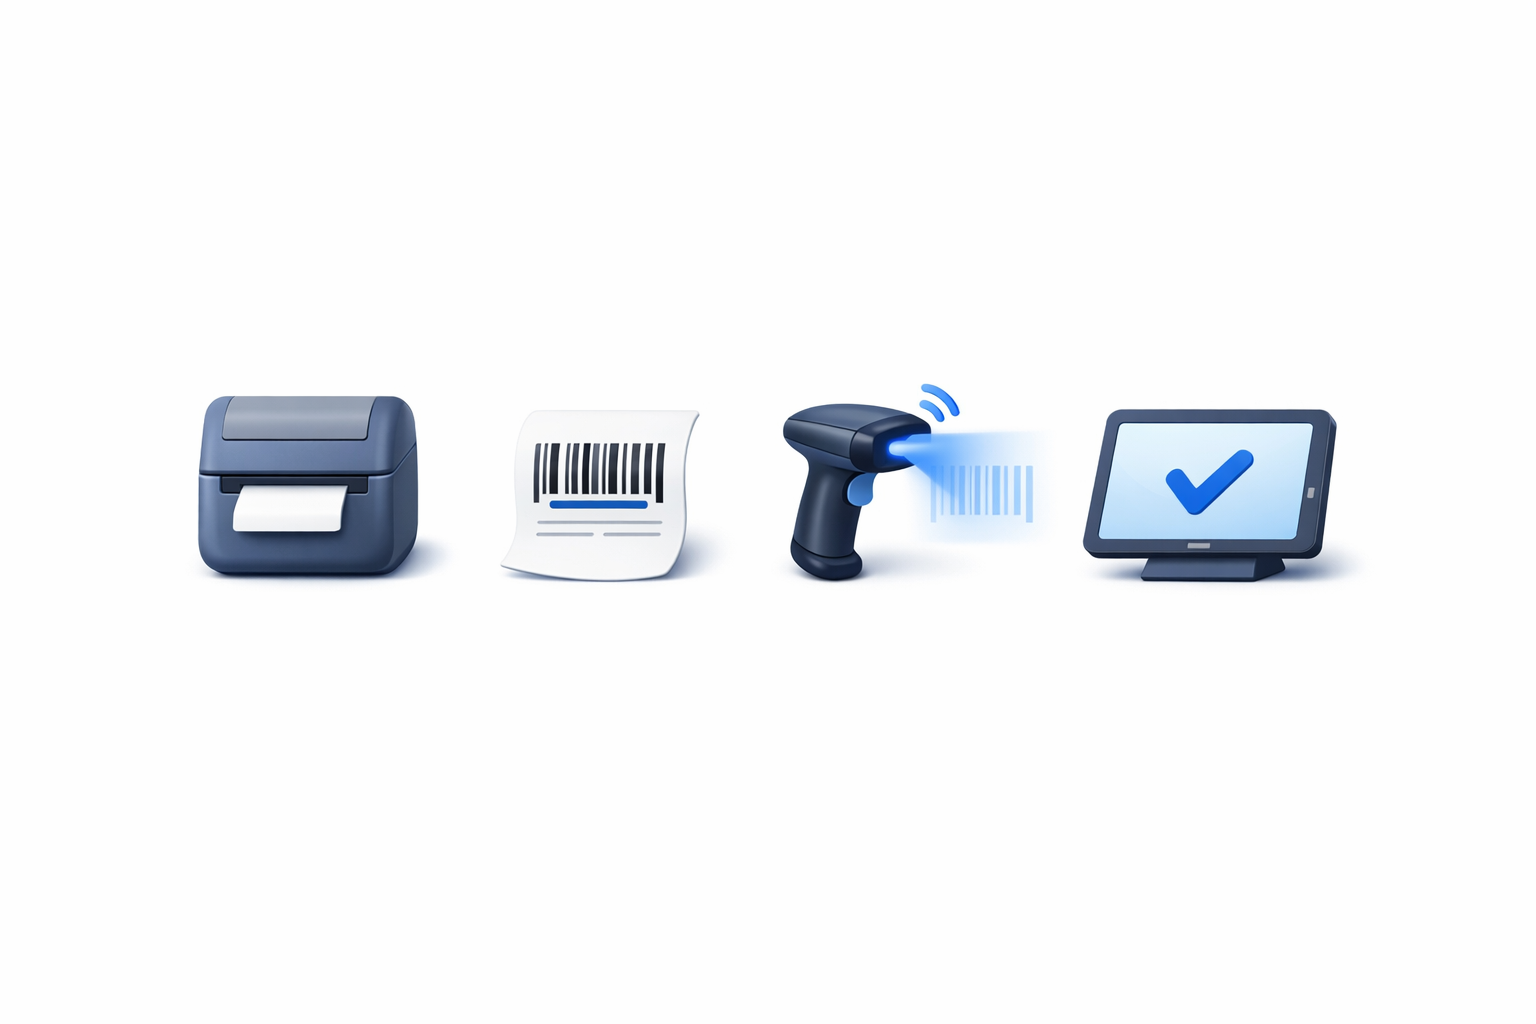
- A charged NIIMBOT B1 direct thermal label printer
- A USB-C charging cable
- An iPhone or iPad running EstateSail
- Compatible label rolls in the sizes you will use
- One Bluetooth barcode scanner for each checkout device
- Square payment equipment if you accept cards
The NIIMBOT B1 is a rechargeable Bluetooth thermal printer. It does not use ink. A B1 and a basic scanner are commonly budgeted at roughly $30 each, although pricing varies by seller.
Confirm the model on the box and the printer. The B1 and B21 are separate NIIMBOT models, and EstateSail onboarding uses the B1 as the primary compatible printer. A similar case or listing title is not enough to confirm compatibility.
Label sizes EstateSail supports
Match the physical roll to the format selected in the app.
50 by 30 mm
Standard rectangular label for most inventory. Room for title, price, and barcode. Use for furniture, lamps, artwork, tools, collectibles, small appliances, and boxed merchandise.
40 by 30 mm
Smaller rectangular option when the standard label takes too much space. Use for small decor, glassware, books, compact electronics, and smaller household goods.
Jewelry labels
Fold-over jewelry labels around 25 by 75 mm wrap a ring, chain, or other narrow item without adhesive on the merchandise. Confirm jewelry roll dimensions before a batch. A standard rectangular template will not align on a fold-over roll.
What prints on each label
EstateSail prints from the item record in inventory. Each label is a barcoded label with the title, price, and room (when you include a room). Scanning it at checkout adds the matching item and price to the cart.
Keep titles short enough to stay readable. Detailed notes and photos can stay in the inventory record.
Finish inventory and pricing before you print
Do inventory, pricing, and labeling during weekday prep, not on sale day. Finish the item record, review the price, then print from EstateSail.
Room-by-room process (Monday through Thursday prep):
- Create or review the item in inventory.
- Confirm title, price, room, and relevant notes.
- Decide whether it needs an individual barcode label.
- Save the reviewed item.
- Print individually or include it in a bulk-print batch.
- Attach the label to the correct item.
If the price changes during staging, update inventory and print a replacement during prep. Do not write a new price over an old barcode.
For tagging method comparisons, see pricing guns vs barcode labels.
Connect the NIIMBOT B1 in EstateSail
Connect and test during weekday prep, not as sale-morning work. Charge the printer first.
- Load the correct label roll.
- Turn on the NIIMBOT B1.
- Enable Bluetooth on the iPhone or iPad.
- Keep the printer close during initial setup.
- Open EstateSail printer settings.
- Select the NIIMBOT B1.
- Choose the label format that matches the installed roll.
- Print one label before starting a batch.
If the print is shifted, clipped, or wrong-format, fix the selected label size first. Do not continue bulk printing until one label is aligned and readable. One designated printing device during prep reduces connection changes.
Selective labeling thresholds
Most sales do not need a unique barcode on every low-value piece. Selective labeling keeps checkout accurate without burning the weekday prep budget.
Start by labeling individual items above about $5, then adjust. Raise the threshold for large amounts of inexpensive household goods. Lower it for tools, jewelry, or collectibles where identification matters more.
When to use individual labels: furniture and artwork; better tools; jewelry and collectibles; items likely to draw pricing questions; pieces the family may ask about later; items that should show clearly in settlement.
When to use lots or generic entries: low-value clothing; common kitchen utensils; inexpensive glassware; books at one price; clearance tables; baskets or lots sold together.
Ordinary clothing can use a general clothing price instead of a unique barcode on every hanger.
Bulk print reviewed inventory (during prep)
Once a room or section is reviewed during weekday prep, select completed items and send a bulk print job. Do this while staging the house, not after weekend doors open.
- Print by room: Finish inventory and pricing for one room, print that batch, apply labels, then move on.
- Split the work: One person reviews inventory and pricing while another applies labels from a completed batch, kept by room or section.
Do not bulk print unreviewed records. Do not plan bulk labeling for Saturday. Sale day is for checkout and floor ops.
Weekday print, apply, and scan test
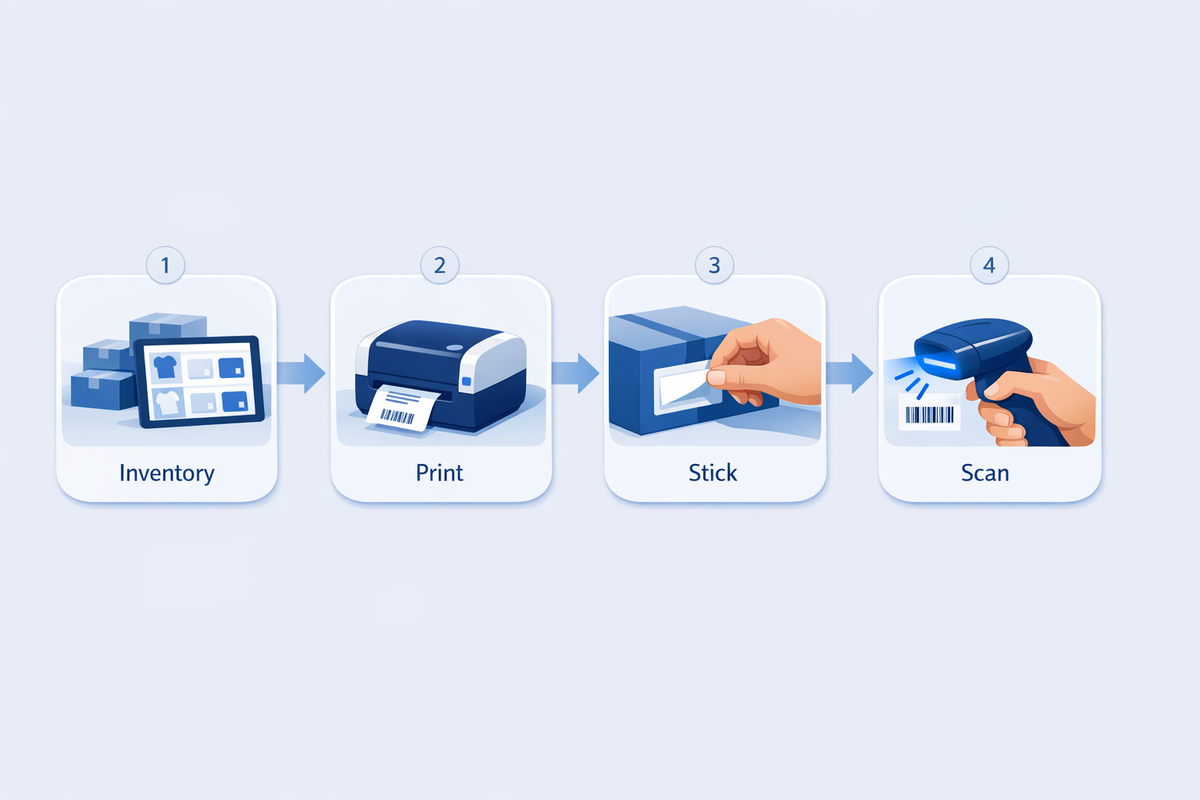
Run the full loop during weekday prep, or Friday evening late prep. Do not leave it for Saturday morning.
- Print at least three labels from reviewed inventory.
- Confirm title and price are readable.
- Check that the barcode is not clipped.
- Attach one label to a representative item.
- Scan it with the checkout scanner.
- Confirm the correct item and price enter the cart.
- Repeat the scan at every register.
- Verify each scanner stays on its assigned checkout device.
Plan one scanner per register. Sharing a scanner slows the line and makes connection problems harder to diagnose.
When cards are part of the sale, keep payment Square-led. Tap to Pay on iPhone can support a light lane; an iPad often needs a reader. Test payment gear during prep with the barcode workflow.
Saturday (sale day): Last checks only: printers charged if you need occasional reprints for price changes, scanners paired, registers ready. Do not invent or bulk-label the house on sale day.
See estate sale day checklist for opening and closing checks.
FAQ
Does every estate sale item need a barcode?
No. Use individual labels where identification, pricing accuracy, or settlement tracking justifies the labor. Group, lot, or use generic entries for inexpensive items where unique tags cost more time than they save.
When should we price and label items?
During weekday prep, usually Monday through Wednesday or Thursday. Finish inventory and pricing first, then print and apply labels before weekend doors. Friday evening can finish late prep. Saturday is sale day operations, not bulk labeling.
Can I print multiple labels at once?
Yes. EstateSail can bulk print selected inventory items in a continuous job during prep. Review inventory and pricing first, then print by room or section.
What if the label prints incorrectly?
Stop the batch. Confirm the physical roll matches the format in EstateSail. Check roll placement, reconnect the B1 if needed, and print one test label before resuming.
Why does a barcode print but not scan?
Common causes: clipped or damaged barcode, tape over the code, placement on a curve, or the wrong template. Print a fresh label on a flat accessible surface and test with that register’s scanner.
Where should labels go?
Use a flat, clean, accessible surface that adhesive will not damage. Avoid curved glass, dusty surfaces, cords, and taped areas. For furniture or delicate finishes, use a tied tag.
A reliable NIIMBOT B1 setup is a weekday-prep workflow: review inventory and pricing, print the correct label, attach it safely, and confirm it scans into checkout before the weekend sale. For the wider process, see what is estate sale software and features.